The Secret to Perfectly Roasted Chicken with Crispy Skin
There's something about a perfectly roasted chicken that just makes you hungry. Golden, crispy skin, juicy meat, and that incredible smell filling the kitchen. It's comfort food at its finest.
But let's talk about one of the biggest challenges home cooks face: getting that skin nice and crispy without drying out the chicken.
The good news? You don't need fancy equipment or complicated techniques. You just need to understand a few basics. And over the years, I've developed a roasting method that works beautifully, especially for larger chickens.
1. Great Roasted Chicken Starts with Preparation
I always take the time to thoroughly clean and prepare my chicken, whether I'm working with a whole bird or individual pieces.
For me, that means inspecting the chicken, removing any giblets, trimming excess fat or unwanted pieces, and getting it ready for seasoning. I often recommend doing this preparation a day ahead because it makes the cooking process much easier.
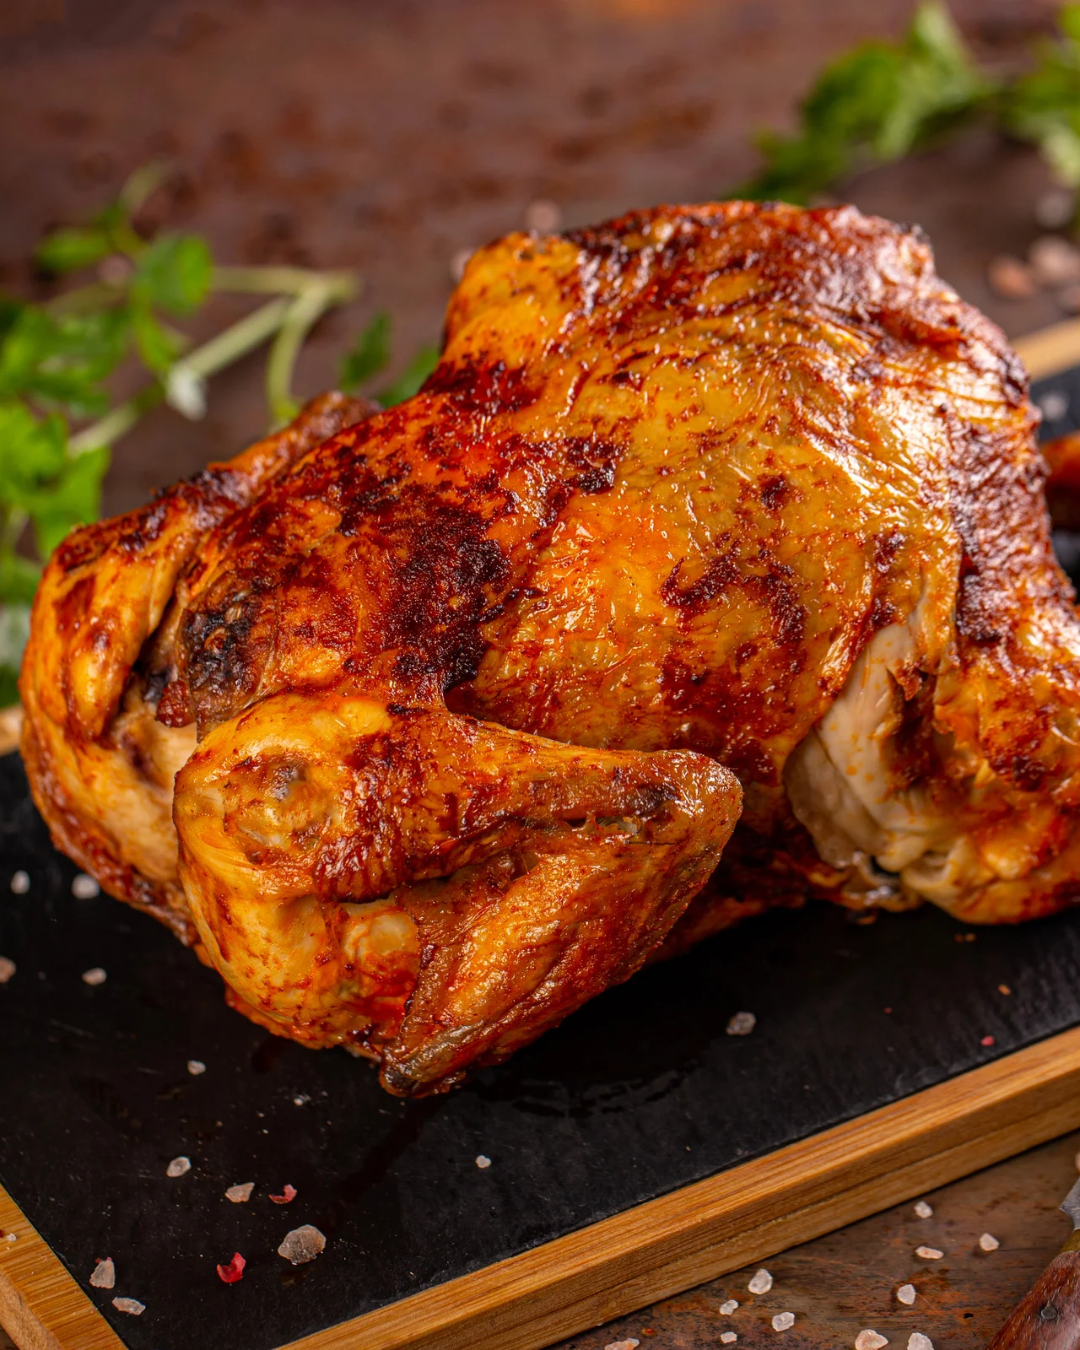
Once the chicken is prepared, pat it thoroughly dry with paper towels. Excess moisture creates steam during roasting, and steam is the enemy of crispy skin!
If you're preparing your chicken ahead of time, season it with salt and refrigerate it uncovered overnight. This technique, called dry brining, helps season the meat while drying out the skin.
Chef KDJ Tip: There's no need to rinse raw chicken under running water. Focus on trimming, preparing, and drying the bird, and always sanitize your work surfaces afterward.
2. Don't Be Shy with the Seasoning
Chicken needs seasoning, and not just a little sprinkle on top. Salt and pepper are a great start, but garlic powder, paprika, thyme, rosemary, and sage can all add wonderful flavor.
For even better results, gently loosen the skin over the breast and add a little seasoning underneath. This helps flavor the meat rather than just the outside.
Chef KDJ Tip: Keep your seasoning simple. Sometimes salt, pepper, garlic, and fresh herbs are all you need to let a beautiful roasted chicken shine.
3. A Little Fat Goes a Long Way
Butter and olive oil can both help promote browning and add flavor. Lightly rub the chicken with olive oil or softened butter before roasting. You don't need to drown it in fat. A thin, even coating is plenty.
And remember, chicken skin already contains natural fat that will render as it cooks, helping create that crispy texture we're looking for.
Chef KDJ Tip: If you're dry brining your chicken, pat away any visible surface moisture before adding your oil or butter.
4. My Two-Temperature Roasting Method
Here's where my technique comes into play.
I like to start my chicken at 425°F for the first 20 minutes. That initial blast of heat gets the skin working toward that beautiful golden-brown finish.
After 20 minutes, I reduce the oven temperature to 375°F for the remainder of the cooking time.
This approach gives me the best of both worlds: a nicely browned exterior and juicy, tender meat. It's a method I've used successfully for larger chickens, particularly those weighing between 4½ and 6 pounds.
Place the chicken breast-side up on a roasting rack or over a bed of vegetables in a roasting pan. Allowing air to circulate helps promote more even cooking.
Chef KDJ Tip: Resist the urge to constantly open the oven door. Every time you do, you lose heat and interrupt the cooking process.
5. Calculate Your Cooking Time, Then Check the Temperature
I absolutely believe in using a meat thermometer, but I don't start there. I start with a simple calculation based on the weight of the chicken. You'll find all kinds of recommendations for roasting times, but my general guideline is 15–20 minutes per pound at 375°F.
Personally, I use 17 minutes per pound as my starting calculation.
For example, if I'm roasting a 5-pound chicken, I'll calculate approximately 85 minutes total. I'll start at 425°F for 20 minutes, then reduce the temperature to 375°F for approximately 65 additional minutes. This calculation gives me a starting point, not a guaranteed finish time.
The thermometer always has the final say.
Chicken needs to reach a safe internal temperature of 165°F, measured in the thickest part of the breast and the innermost part of the thigh and wing, without touching bone. Start checking before your calculated time is up, since the actual cooking time can vary.
Chef KDJ Tip: Learning to calculate cooking times helps you plan your meal, but checking the internal temperature is how you know your chicken is safely cooked.
6. Is Your Oven Actually Cooking at the Right Temperature?
Here's something home cooks don't always think about: Your oven might not be heating to the temperature displayed on the dial. And that can make a huge difference! You can follow a recipe perfectly, calculate your cooking time correctly, and still end up with disappointing results if your oven temperature isn't accurate.
That's why I recommend checking your oven's calibration. Some newer ovens allow homeowners to make temperature adjustments themselves. Older models may require a qualified service technician. An oven thermometer can also help you identify whether your oven is running hotter or cooler than expected. It may seem like a small detail, but an accurately calibrated oven can make a tremendous difference in your cooking.
Chef KDJ Tip: Before blaming the recipe, make sure your equipment is doing its job!
7. Let That Chicken Rest!
I know. You've spent all this time roasting your chicken, it smells incredible, and everyone is ready to eat. But don't carve it just yet! Allow your chicken to rest for about 10–15 minutes before carving. This gives the juices time to redistribute throughout the meat. If you cut into it immediately, more of those delicious juices can end up on your cutting board instead of in your chicken.
Chef KDJ Tip: Rest the chicken uncovered if you want to preserve as much of that crispy skin as possible.
Chef KDJ's Simple Crispy Roast Chicken
Ready to put these tips to work? Here's a simple preparation using my preferred roasting method.
1 whole chicken (approximately 4½–6 pounds)
2 tablespoons olive oil or softened butter
1½ teaspoons kosher salt, or to taste
1 teaspoon freshly ground black pepper
1 teaspoon garlic powder
1 teaspoon paprika
1 teaspoon chopped fresh rosemary
1 teaspoon fresh thyme leaves
1 lemon, halved
3-4 garlic cloves
1 small onion, quartered
Prepare your chicken.
Ideally, do this the day before roasting. Remove the giblets, trim excess fat, and pat the chicken thoroughly dry. If preparing ahead, salt the chicken and refrigerate it uncovered until you're ready to cook.
Preheat your oven to 425°F.
Make sure your oven is properly calibrated and has reached the desired temperature before placing the chicken inside.
Season generously.
Rub the chicken with olive oil or softened butter. Combine the seasonings and apply evenly, including underneath the skin where possible. If you've already salted the chicken overnight, adjust the additional salt accordingly.
Add your aromatics.
Place the lemon halves, garlic cloves, and onion quarters loosely inside the cavity. Avoid packing it tightly.
Calculate your cooking time.
Multiply the weight of your chicken by 17 minutes to estimate your total roasting time.
Start hot!
Place the chicken breast-side up on a rack in a roasting pan. Roast at 425°F for the first 20 minutes.
Reduce the heat.
Lower the oven temperature to 375°F and continue roasting for the remaining estimated time. Begin checking the internal temperature early and continue until the chicken reaches 165°F in the required locations.
Let it rest.
Remove the chicken from the oven and allow it to rest for 10–15 minutes before carving.
Serve and enjoy!
Pair it with roasted potatoes, seasonal vegetables, or a simple green salad.
Don't Forget Those Pan Drippings!
Before you clean that roasting pan, take a look at what's left behind. Those browned bits and flavorful juices are liquid gold!
Use them to make a quick pan sauce or gravy. Add a little chicken stock, scrape up the browned bits, simmer, and finish with a small amount of butter.
You've just taken an already delicious meal to another level. And don't throw away the chicken carcass! Save it for homemade chicken stock. Great cooking is also about making the most of your ingredients.
Great Cooking Is About the Little Things
Here's what I love about roasting chicken. It's a perfect example of how a few simple techniques can completely transform a dish.
Prepare your chicken ahead of time. Dry the skin. Season properly. Calculate your roasting time. Control your oven temperature. Use a thermometer. Let it rest.
Nothing complicated. Just good cooking.
And once you've mastered the basics, start experimenting. Try different herbs, citrus, spice blends, or even a little smoked paprika for something different.
Chef KDJ Says: The secret to great cooking isn't always a secret ingredient. Sometimes it's simply knowing how to treat the ingredients you already have.
Now get in the kitchen and roast that chicken!